3D Asset Production Pipeline
WORK
Utkarsh Raj Singh
2/4/20252 min read
Creating 3D assets for games is a meticulous process that blends creativity, technical expertise, and historical accuracy. Despite some misconceptions among players, using references and mood boards is not "copying" but an industry-standard approach to ensure authenticity and quality. This blog breaks down the 3D asset production pipeline, explaining how environments and assets are designed from concept to final implementation.
1. Understanding Moodboards & Reference Boards
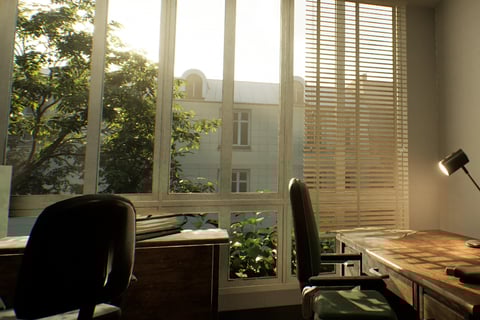
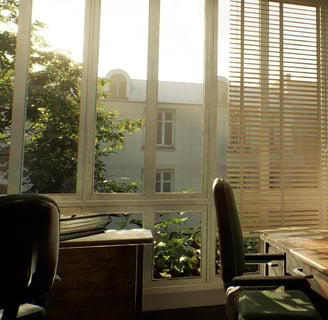
Before any modeling begins, the first step in asset creation is gathering visual references. These references guide artists in maintaining historical accuracy, consistency, and realism. A moodboard or reference board consists of:
Photographs from real-world objects, locations, or historical archives.
Concept sketches that capture the overall aesthetics.
Material and texture samples to define surfaces like metal, wood, or fabric.
Color palettes that align with the game's artistic direction.
Using references ensures that the final assets are grounded in reality and visually cohesive within the game world.
2. Concept Art & Blockouts
Once references are collected, the next step is creating concept art and blockouts. This phase includes:
Sketching initial designs to explore different asset variations.
Blocking out models in 3D using simple shapes to define proportions and scale.
Iterating with the art team and designers to refine the form and function.
Blockouts serve as placeholders in the game engine, allowing designers to test how assets fit within the game environment before investing time in detailed modeling.
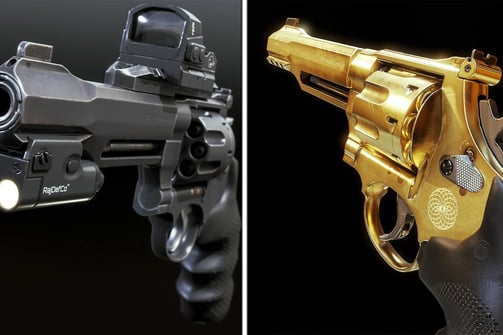
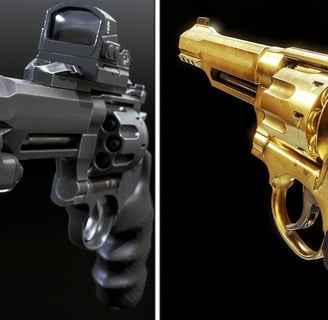
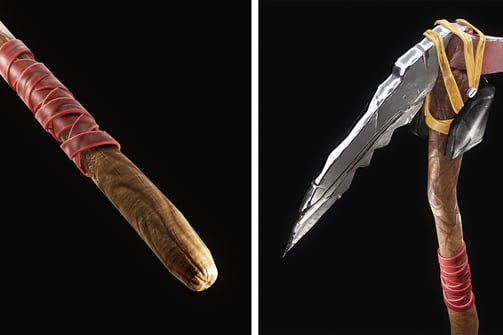
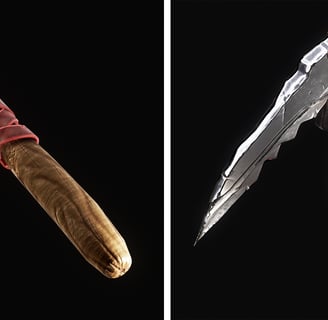
3. Modeling & Sculpting
With approved blockouts, artists begin creating high-fidelity 3D models using tools like Blender, Maya, or ZBrush. This stage involves:
Low-poly modeling for real-time game performance.
High-poly sculpting for detailed textures and normal maps.
UV unwrapping to prepare the model for texturing.
The goal is to create an optimized model that balances visual quality and performance efficiency.
4. Texturing & Materials
Texturing is where assets come to life with realistic surfaces. This step includes:
Baking details from high-poly to low-poly models.
Using PBR (Physically Based Rendering) materials for realistic lighting interactions.
Hand-painting or procedural texturing in software like Substance Painter.
Textures define an asset’s appearance, making surfaces look aged, worn, or brand new based on the game’s art direction.
5. Optimization & Game Engine Integration
Before finalizing, assets undergo optimization to ensure they run efficiently in the game engine. This includes:
Reducing unnecessary polygons to improve performance.
Compressing textures without losing quality.
Testing assets in the game engine (Unreal Engine, Unity, etc.) to ensure proper rendering.
Once integrated, the asset becomes part of the game world, interacting seamlessly with lighting, physics, and gameplay mechanics.
Conclusion: The Art Behind Game Assets
The process of creating 3D assets is a detailed and iterative journey that relies on research, creativity, and technical expertise. Moodboards and reference boards are fundamental tools that allow artists to craft believable and immersive environments. Understanding this workflow helps bridge the gap between player expectations and the realities of game development.
By sharing these insights, we hope to highlight the craftsmanship behind every asset and foster a greater appreciation for the art of game development.